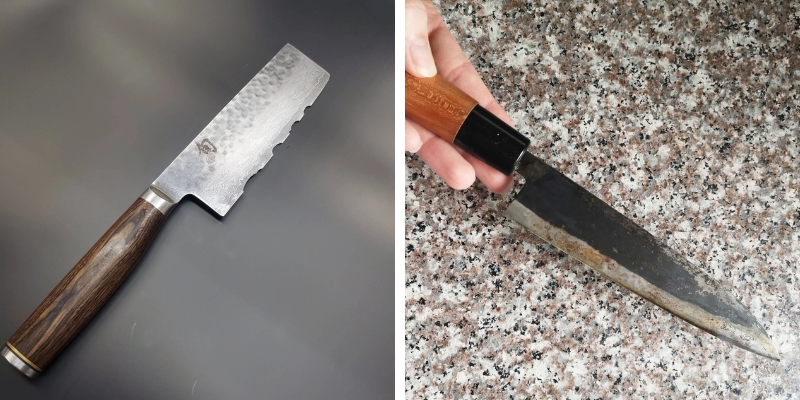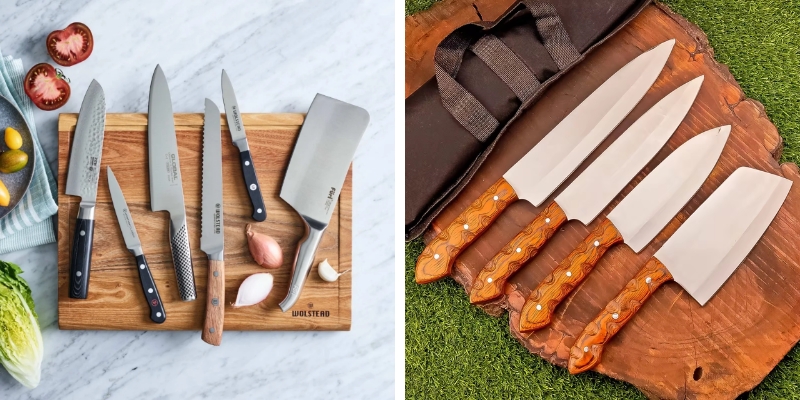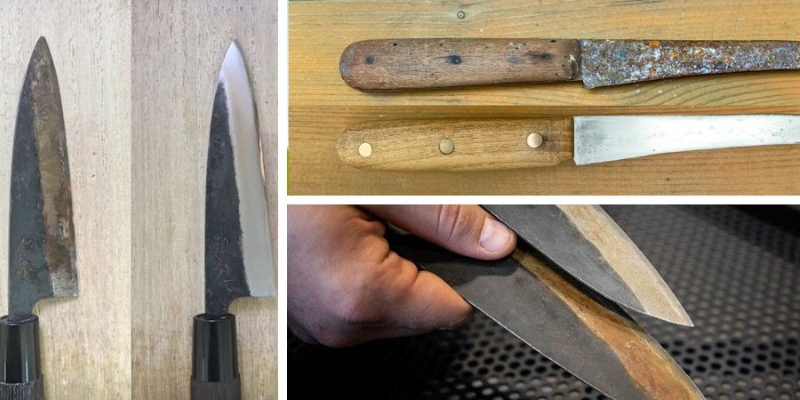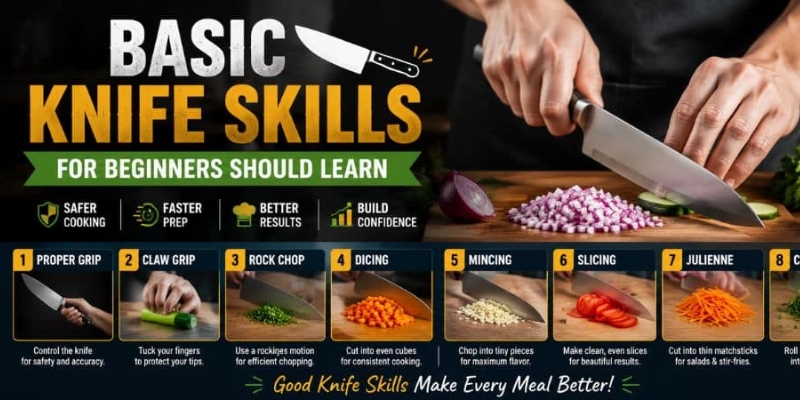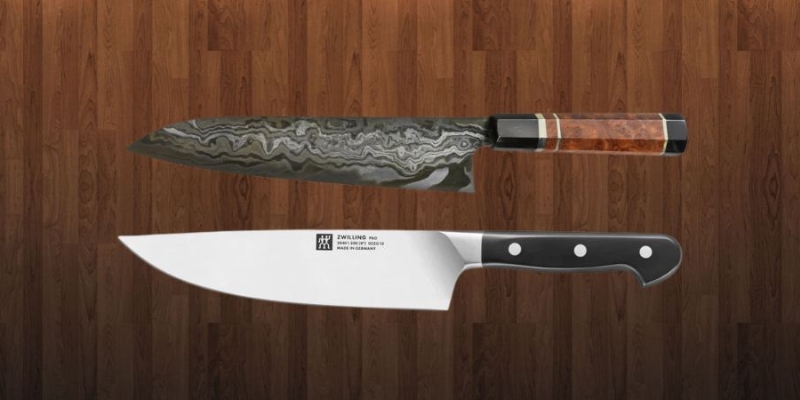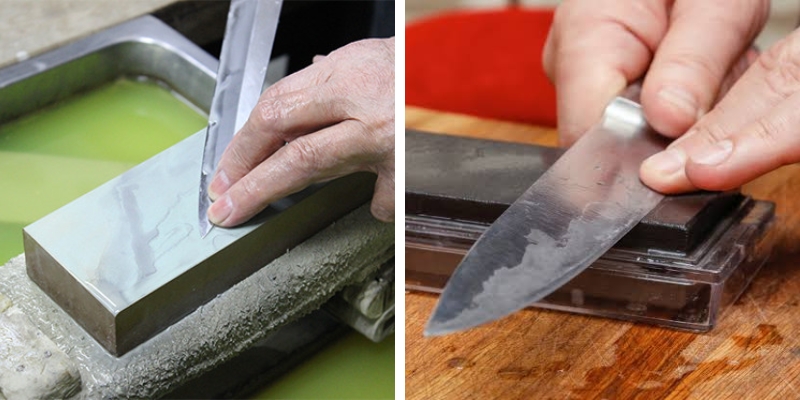
A Japanese kitchen knife is one of the most essential tools that you can have in a kitchen. These knives may be Gyuto, Santoku, Nakiri, or a petty knife, and people value them for their ultimate sharpness, weightlessness, and cutting ability.
However, even the sharpest Japanese knives will become dull over time from frequent use. The apparent consolation is that, contrary to what many of us might suspect, honing an Eastern blade is not nearly as overwhelming a craft.
A good technique and a suitable whetstone will put your knife back into razor-sharp condition for many years to come. This guide will show you how to sharpen Japanese kitchen knives, one step at a time.
This will take you from selecting the proper whetstone to keeping a consistent sharpening angle, avoiding common mistakes, and knowing how and when to maintain your blade after sharpening.
No matter if you are a novice cook or have been through the kitchen wringer with countless home cooking battles, this guide will show how to maintain your knife sharp just like a pro.
Why Japanese Kitchen Knives Require Extra Care
Japanese-style kitchen knives are quite different from most Western-style cutlery. They are usually made of harder steel and measure around 60–65 HRC on the Rockwell Hardness Scale.
This stronger steel gives the blade a real edge, allowing it to maintain an incredibly sharp edge for long periods of time and make precision slices through vegetables, fish, herbs, and boneless meats.
But this harder steel is also less forgiving. Japanese blades are more likely to chip compared to soft German knives, which often roll at the blade edge when improperly sharpened or used on hard foods like bones and frozen ingredients.
That's why sharpening technique matters. Along with ensuring you have the best angle possible, using a sharpening stone appropriate for maintenance will preserve the performance of your knife without wasting steel.
Read: Japanese Knives Vs German Kitchen Knives – Which Is Better For Home Kitchens?
Is a Whetstone Necessary for Japanese Knives?
In the case of achieving the best results, you can say yes. For this reason, professional chefs and knife makers alike overwhelmingly recommend whetstones; you have total control over every step of the sharpening process. This feature makes it very different from electric sharpeners or pull-through sharpeners, because a whetstone will only remove the steel necessary to recover your edge.
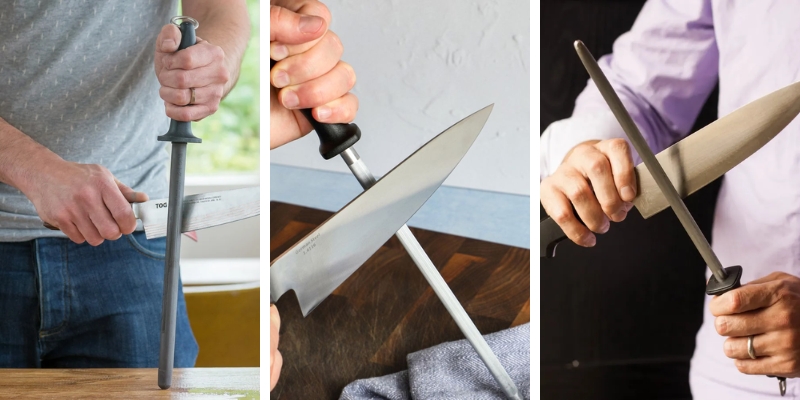
This principle is particularly true for Japanese knives, whose thinner blades and harder steels require exact sharpening. That being said, ceramic honing rods can help maintain the edge in between sharpening sessions, but they cannot substitute proper sharpening once the knife is dull.
Choosing the Right Whetstone
A very frequently asked question among beginners is, Which whetstone grit should I buy?. The right choice depends on the state of your knife.
For an average dull blade, this will suffice with one of the mid-range stones (roughly 1000-grit). If you have a very dull knife or blade that has small chips in its edge, then it is best to start the sharpening process on coarse stones (400–600 grit) for all types of knives.
Once you have created a new edge, switch to 3000—and between them, paste grain stones in that range; level grit up from there (6000) equally for the same fine finish.
This last step helps create the smooth, razor edge for which Japanese blades are famous. In fact, most home chefs will find that a combination stone with 1000/6000 grit provides the best balance of performance and value.
Tools You'll Need
Japanese kitchen knife sharpening does not require a full set of equipment to get the job done. Only need a few essential tools.
- Water stones (the most critical tool).
- A non-slip stone holder or wet kitchen towel to stabilize the stone while sharpening will greatly help.
Keep the stone lubricated with a spray bottle or bowl of clean water. Lastly, use a clean microfiber towel to dry your knife and whetstone after sharpening.
If you are a beginner, an inexpensive angle guide assists you in keeping the appropriate sharpening angle until it becomes lifelong motor memory within your muscles.
Understanding the Correct Sharpening Angle
Maintaining an angle is the biggest part of sharpening in your basic knife skills. Japanese kitchen knives are typically sharpened between 12 and 15 degrees on each side. This keen angle forms a razor-sharp edge that enables it to slice through light foods with very little resistance.
When the angle is too steep, much of that accuracy goes away. If it's not enough, the edge gets weaker, and chipping occurs more often. Don't worry about the number; just be consistent. Having the same angle on each stroke is far better than changing positions all around. After some practice, it will feel natural to stay on that angle due to muscle memory.
Guide to Sharpening the Japanese Kitchen Knife
Step 1: Prepare the Whetstone
Find out if your whetstone should be soaked before sharpening. Natural water stones require a soaker for about 10 to 15 minutes, or until there are no more air bubbles rising. Other modern splash-and-go stones may only need a thin layer of water, so make sure to always follow the instructions.
Use a firm and non-slip base with your stone that will not allow for any movement when you are sharpening. If the stone is secure, your only emphasis is keeping an even angle rather than stability.
2nd Step: Hold the Knife correctly
Use the pinch grip to hold your knife comfortably. Your thumb and index finger are on or just above the blade, and your other fingers wrap around about half the grip. This grip allows for great control while holding the sharpening angle during each stroke.
Place the blade on the whetstone with the edge facing away from you at roughly 15 degrees. Before sharpening, one needs to check the angle. Being too eager to do this step can lead to sporadic sharpening.
Step three: Hone the first edge
Hold the knife against one end of the stone, starting at the heel and working toward the tip of the blade. Think about trying to take a very thin slice off the top of that whetstone face. On the forward stroke, use light pressure; on the return stroke, apply even pressure but press slightly softer.
Keep working until the whole edge, from heel to tip, is worn down neatly. Instead of counting strokes, feel for the blade and watch as a burr develops on the other side. Burr—A small flap of metal showing that you've sharpened all the way to the edge
Step 4: Repeat on Other Side
Flip the knife over once a burr has formed, and repeat on the other side. Sharpen with the same angle and similar pressure throughout. Consistency over speed. This step is where a lot of new bladesmen try to skip, but very light, gentle strokes give far cleaner edges.
Fifth step: Get on a fine-grit stone!
Once you've made the main edge on your medium-grit stone, wash the blade well and go to a fine-grit stone. The finer grit polishes and shapes the cutting edge by removing scratches from earlier stages. You want to use some lighter pressure than the previous time as you allow the abrasive surface of the leather to polish, rather than reshape, your razor blade. A honed edge also slices through food more easily and often remains sharper for a longer period of time.
Step 6: Remove the Burr
Even after being polished, a small burr can stay stuck to the edge. By switching back and forth with some gentle strokes on each side, this leftover metal is slowly eliminated. After that, some sharpeners make a few extremely light edge-leading passes to erase the final edge. The knife should feel significantly smoother and sharper once the burr has been removed.
Step 7: Clean And Dry The Knife
Use warm water & light dish soap to clean the knife. Before putting it away, remember to wipe all the water with a soft towel. To protect against corrosion, apply a light film of food-safe mineral oil to knives made from high-carbon steel. Never soak a freshly sharpened knife in water or put it in the dishwasher.
How to Test the Sharpness
Knowing how to conduct a safe knife test is just as important, albeit less of an art than sharpening correctly. One common method is the paper-based test. Suppose you take a piece of paper from one side and cut it down. A well-maintained sharpness should bring cutting resistance to nearly zero when applied in most cases with Japanese knives.
Another effective test is to cut through a ripe tomato. The blade should slice through the skin easily, without pressing down too hard. Such straightforward tests help you verify that you have put the edge back in its place without damaging your blade during this process.
Common Sharpening Mistakes to Avoid
Sharpening Japanese kitchen knives is a skill that takes some getting used to, and almost everyone makes mistakes at the start. The good news is that many of these mistakes are easy to fix once you know what to watch for.
Using the Wrong Sharpening Angle
Repeatedly changing the angle of sharpening is one of those mistakes. Japanese kitchen knives feature a narrow edge angle between 12 and 15 degrees for double-bevel knives that is optimal.
Talking of angles, if you keep changing your angle, you'll create a jagged edge that won't cut well. Work on sending the blade through at a smooth angle from the heel to the tip, rather than trying out your sharpening in small bursts. You do need consistency, and it matters way more than speed.
Applying Too Much Pressure
Most beginners think a knife will cut faster by pressing harder. Actually, too much pressure can scratch the blade and wear down unevenly across a whetstone to make an inconsistent edge.
Let the grinding surface of the whetstone work for itself. Apply light, steady passes and continue to lighten pressure until the edge gets sharper. This results in most cases with light finishing strokes.
Skipping the Fine Grit Stone
Using a medium-grit whetstone is great for bringing back the dull edge, but stopping there leaves you with an unfinished and ragged blade. A low-quality stone will mildly smooth the microscopic scratches made by a coarser grit, but anything else would create that razor-sharp thing in Japanese knives. It often only takes a few minutes to refine the edge, and it makes a noticeable difference in cut performance.
Ignoring the Burr
The burr is one of the clearest signs you have sharpened all the way through. Some novices will stop sharpening before a burr has formed, while others forget to remove it before using the knife. In either scenario, the knife will not cut as well as it should.
Go slowly, form a uniform burr the whole way around, and then remove it with alternating light passes on the finishing stone.
A Dirty Knife or Whetstone you are Sharpening
It is also possible to sharpen food debris, grease, or metal chips. Before starting, clean the knife properly and dry it out as well. Similarly, when you are sharpening your knife with the whetstone, occasionally rinse away the metal filings to prevent them from blocking up on your abrasive surface.
The cleaner cuts of stone help produce a clean edge. When a big knife is idle, then rust will collect on its surface. To begin with, it is a must that you remove defects using a particular technique to start sharpening whenever necessary.
Pull-Through Lumber Sharpeners for Prime Japanese Knives
Though pull-through sharpeners are easy enough to use, they don't make the best kitchen knife training partner—especially if your knife is an expensive Japanese gourmet blade. This type of sharpener takes off metal aggressively and almost always uses fixed sharpening angles that do not match the original edge geometry for your knife.
Eventually, though, the steel can suffer wear after repeated use and lose its ability to cut. For those who have invested in a quality Japanese knife, whetstones are still the safest and most cost-effective way to sharpen your knives.
Japanese Kitchen Knives: Maintenance Tips
Maintenance is as essential as sharpening. Proper care helps extend the life of your knives and prevents unnecessary replacement.
1. Clean the knife immediately after use.
Wash the blade and LUBE with warm, soapy water (regular dish soap works just fine). Wipe the knife clean and dry immediately while it is still moist using a soft towel. Do not soak the knife in water, as prolonged contact with excess moisture will cause corrosion to occur around the handle. High-carbon steel blades are also more sensitive to moisture and will rust if not properly dried after cleaning.
2. Store your knives properly.
Do not throw the knives in a kitchen drawer since the blade hits other cutlery, dulling it and increasing cuts with it. Instead, utilize a wooden knife block, magnetic knife bar, or protective blade guard.
3. Choose the right cutting surface.
Plastic and wooden cutting boards are more knife-friendly as they retain their quality. Steer clear of glass, ceramic, granite, and marble surfaces since they will dull high-quality Japanese knives very quickly.
4. Hone only when appropriate.
Depending on your blade manufacturer, you can hone between sharpenings to keep that edge alive. Japanese knives are often made of a harder steel and might not hone up like softer Western-style steels.
Some manufacturers suggest using a smooth ceramic honing rod occasionally, while others suggest sharpening on the whetstone. Do not use Japanese kitchen knives for any purpose other than proper ones.
5. Do not cut frozen foods or hard bones.
Never twist or force the blade to chop through thick, hard ingredients since it may chip the edge. Use your knife like a piece of high-precision machinery.
When successfully cleaned, stored correctly, and used on the appropriate chopping surfaces alongside sharpening practices, your knife can retain its edge and function optimally for up to a generation or more!
FAQ
Can I use a pull-through sharpener on a Japanese knife?
Some pull-through sharpeners are specifically made for Japanese-style blades, but not many premium knife manufacturers recommend using them at all.
Whetstones take off minimal material, maintain the blade's original edge angle, and offer better long-term performance.
Do Japanese knives need honing?
Japanese kitchen knives are usually made from steel that is harder than Western knives, which means you won't benefit the same way by honing frequently. Instead of a classic steel honing rod, it is generally better to touch up on an occasional basis with a whetstone or lighter maintenance using a ceramic if recommended by the manufacturer.
Grit – What Grit Whetstone Should I Use?
1000-grit: A whetstone with a grit of 1,000 is perfect for routine sharpening. If your knife is severely damaged or extremely dull, start with a 400–600 grit stone, then use a large surface to finish before polishing the edge with 3K–6K grits.
How to tell if your knife is sharp enough
Properly sharpened, a Japanese knife slices seamlessly through paper, cuts ripe tomatoes without squashing them, and glides smoothly through vegetables with only the slightest amount of pressure. If the knife tears, slips, or requires excessive force, it probably requires sharpening.
Does sharpening ruin a Japanese kitchen knife?
A properly sharpened knife lengthens the life of your blade. Blades go awry when you apply too much pressure, use inconsistent angles, or let low-quality sharpening tools remove excess steel. The important thing to remember is that by taking your time and using the correct whetstone, there is little need for excessive wear.